How to Fit an Internal Door: Step-by-Step Guide (With Expert Tips)
Fitting an internal door can instantly refresh your home, improve privacy, and boost energy efficiency—but only if it’s installed correctly. Whether you’re replacing an old door or upgrading to a modern, stylish internal door from The Door Line, proper installation is essential for smooth operation and a perfect fit.
While many homeowners consider fitting internal doors as a DIY job, joinery skills and accurate measurements are critical—especially with solid core doors, fire-rated doors, and premium door styles. This guide explains how to fit an internal door step-by-step, along with expert tips from our installation team in Leeds.
1. Tools & Equipment You’ll Need
Before you begin fitting an internal door, make sure you have:
-
Tape measure
-
Sharp pencil
-
Combination square
-
Handsaw or circular saw
-
Chisels
-
Screwdriver or drill
-
Plane or sanding block
-
Level
-
Hammer
-
Hinges, latch, strike plate, and screws
For heavier doors (solid oak, solid core, or fire doors), a second person is recommended for safety.
2. Check the Door Frame and Opening
A common mistake when fitting an internal door is assuming the frame is perfect. In reality, many frames—especially in older homes—are slightly twisted or out of square.
What to Check:
-
Frame height and width
-
Squareness (measure corner-to-corner diagonally)
-
Door stop position
-
Hinge recesses (if reusing an existing frame)
If your door frame is damaged, warped or unsuitable for reuse, consider a door frame replacement.
3. Measure the Door Against the Frame
Internal doors often require trimming to achieve the perfect fit.
Measure for:
-
Height
-
Width
-
Clearance at the bottom (especially if you have carpets)
Tip: Most internal doors require a 2–3mm gap on each side for smooth operation.
At The Door Line, our joiners are experienced in trimming LPD internal doors safely without compromising structural integrity—particularly important for fire-rated doors.
4. Trim the Door to Size (If Necessary)
If trimming is required:
Width:
-
Plane or saw small amounts from the hinge side if possible.
-
Avoid over-trimming the lock side to maintain hardware strength.
Height:
-
Remove material evenly from the bottom.
-
Always check floor clearance with carpet or underlay in place.
Note: Some pre-finished doors and fire doors (FD30/FD60) have limited trimming allowances. Always check manufacturer specifications before cutting.
5. Mark and Fit the Hinges
High-quality hinges ensure long-lasting, smooth door operation.
How to mark hinge positions:
-
Typically place the top hinge 150–200mm from the top of the door.
-
Place the bottom hinge 180–250mm from the bottom.
-
Centre the middle hinge (if fitting three hinges).
-
Use your square to mark accurate hinge outlines.
Cutting the hinge recesses:
-
Score around the outline.
-
Chisel out a recess equal to the hinge thickness.
-
Ensure hinges sit perfectly flush for secure fitting.
Expert Tip:
Fire doors legally require three fire-rated hinges with intumescent pads.
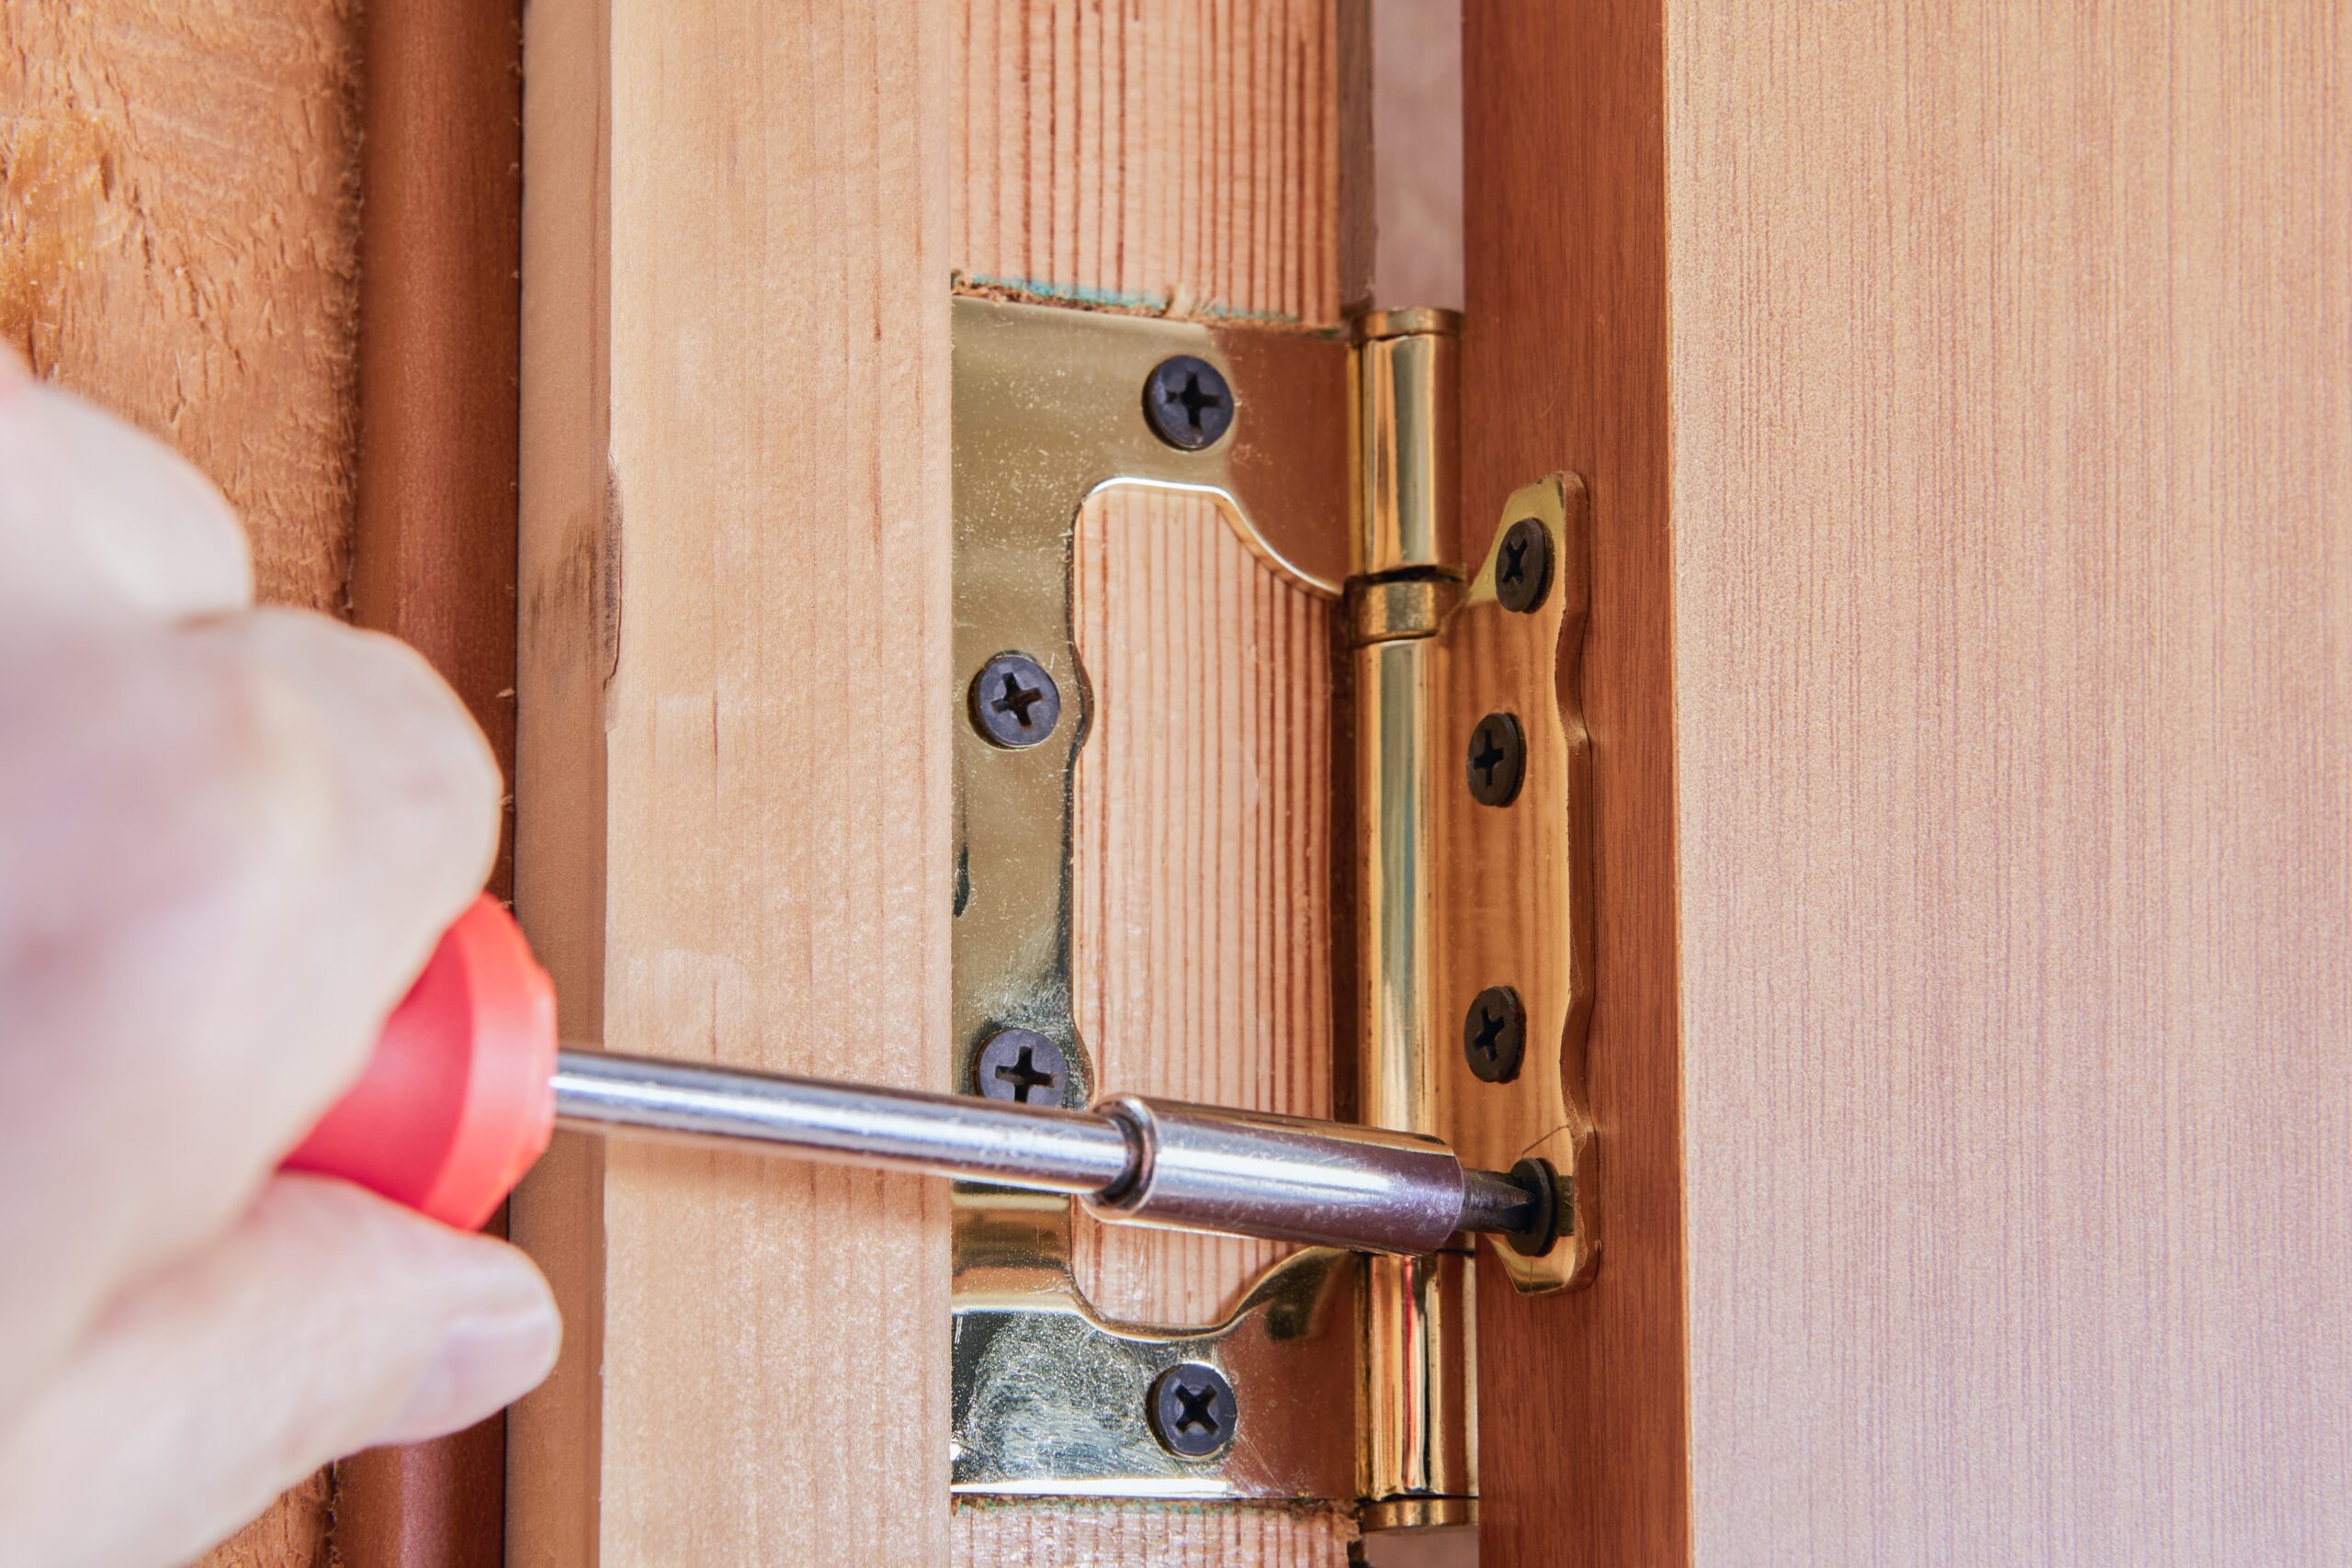
6. Hang the Door on the Frame
With hinges fixed to the door:
-
Prop the door in place using wedges.
-
Align the hinges with the recesses in the frame.
-
Screw the hinges to the frame securely.
-
Check movement—open and close the door to ensure it swings freely.
If the door catches, adjust the hinges or lightly plane the touching edge.
7. Fit the Latch and Handle
Once the door is hanging correctly, you can install the latch, handle and strike plate.
Latch installation:
-
Mark latch height—usually 1,050mm from the floor.
-
Drill a hole for the latch body.
-
Chisel a recess for the latch plate.
-
Install and secure the latch.
Handle installation:
-
Drill spindle holes through the door.
-
Fit the handle set and screw securely.
Strike plate installation:
-
Close the door to mark latch position on the frame.
-
Chisel recess and fix plate.
For multi-point latches or speciality handles, follow the manufacturer’s fitting instructions.
8. Install the Door Stop (If Fitting a New Frame)
Door stops help the door close neatly and seal properly.
Tips:
-
Ensure the door stop follows the natural line of the door.
-
Keep consistent spacing around the door.
-
Nail or pin in place carefully.
Incorrectly installed door stops are a common cause of doors bouncing back rather than closing fully.
9. Final Checks & Adjustments
Before finishing:
-
Ensure the door closes without rubbing
-
Check gaps are even on all sides
-
Tighten hinge screws if movement occurs
-
Test latch and handle for smooth operation
-
Lightly sand edges if needed
Once everything is perfect, you can paint, varnish, or leave a pre-finished door as is.
10. Should You DIY or Use a Professional Door Fitter?
While DIY door fitting is possible, many homeowners prefer the peace of mind that comes with professional installation.
Benefits of using The Door Line’s supply & fit service:
-
Expert joiners with experience fitting LPD internal doors
-
Perfect trimming, fitting and alignment
-
Certified installation for fire-rated doors
-
Pre-order measurement service for guaranteed accuracy
-
Full removal and disposal of old doors (optional)
A professionally fitted door not only lasts longer but looks better and operates smoothly.
Ready to Transform Your Home with New Internal Doors?
Whether you’re buying a single door or upgrading your entire home, The Door Line provides a seamless supply and fit service across Leeds and West Yorkshire.
Explore high-quality internal doors and book professional installation today:


